How to tie a necktie knot: 5 types for every occasion
5 different necktie knots for every kind of event
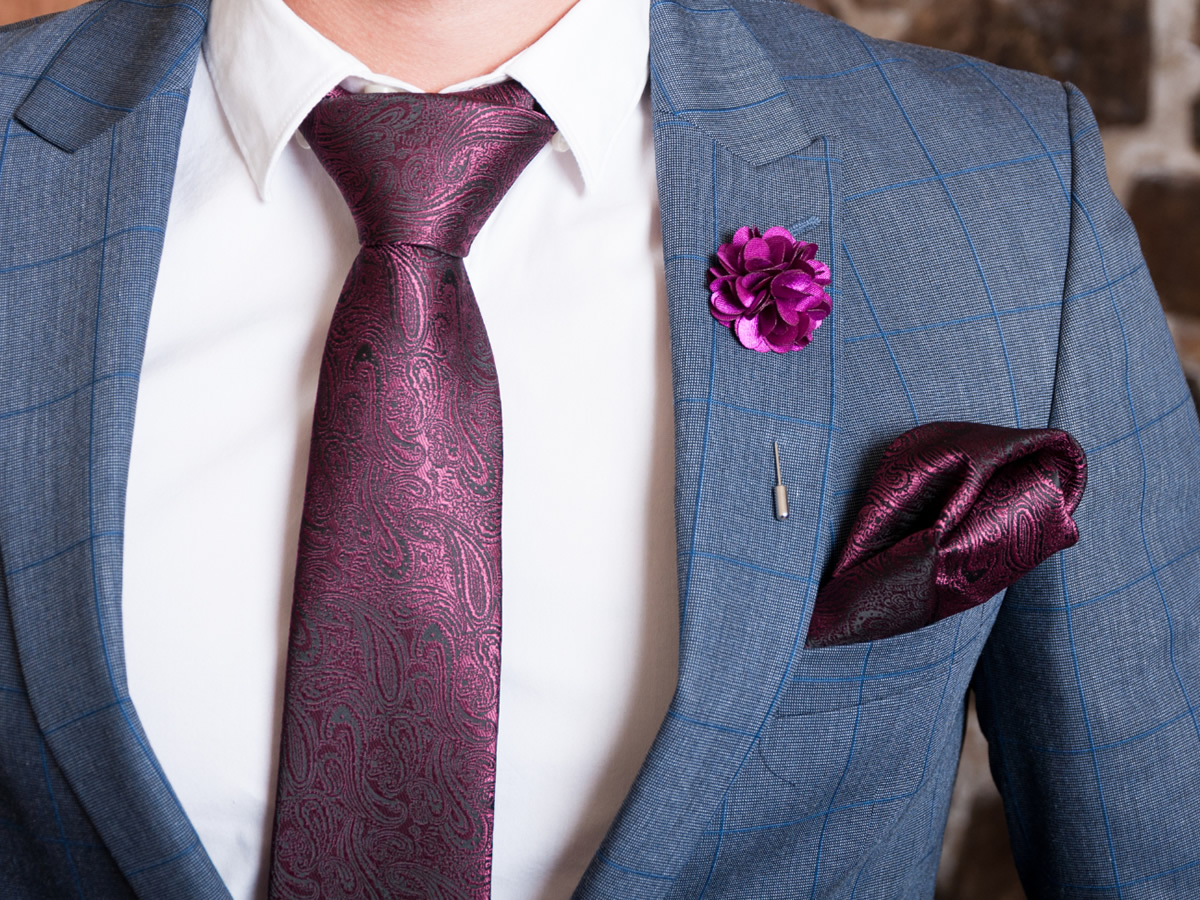
The necktie knot has always been the worry of every man's existence, as invariably, on the occasion of weddings and important events, he finds himself having to "try his luck" by attempting to create a knot that matches the suit he's wearing.
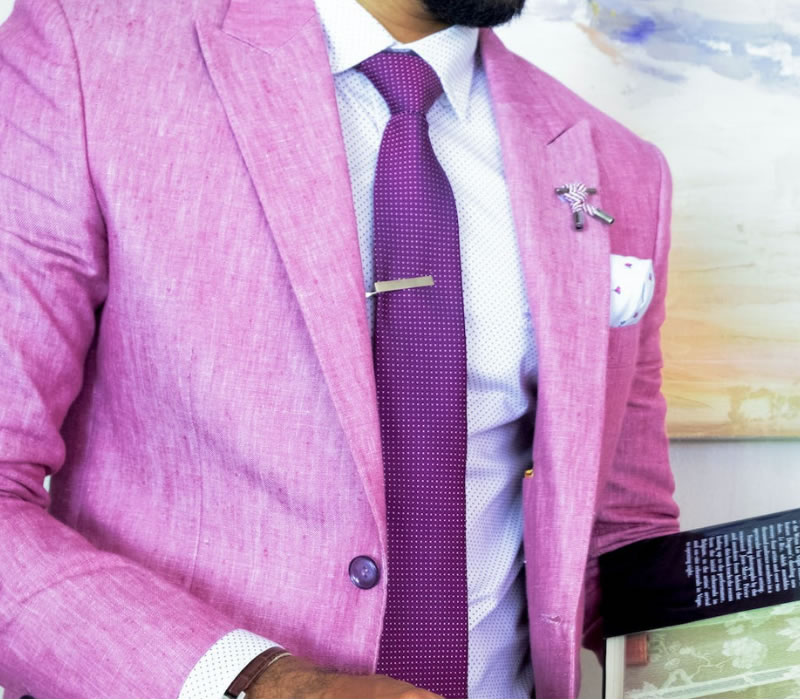
Long considered an indispensable accessory in every man's wardrobe, the necktie is a cool element and a true symbol of sophistication. Knowing how to tie it correctly can make a difference in giving the outfit a touch of class and elegance.
With this simple tutorial, a mirror and a bit of patience, every man can become an expert in creating formidable necktie knots, suitable for every type of event, capable of enhancing the entire attire.

First of all, it's crucial to carefully choose the right tie for the shirt you're wearing. Shirts with low or slightly open collars require a slim and linear tie, while a shirt collar with ample space needs to be filled with a nice, full knot.
Once you've selected the tie to wear, it's time to move on to tying the knot, bearing in mind that it will lengthen as the width of the tied section increases and it will grow in volume proportionally with the weight of the fabric and the number of wraps (or steps) to be made.

There are various types of knots, choose the one you like best and which best matches your shirt and proceed with the creation.
SIMPLE KNOT DOUBLE KNOT SMALL KNOT WINDSOR KNOT ELDREDGE KNOTSIMPLE KNOT or Four in Hand Knot
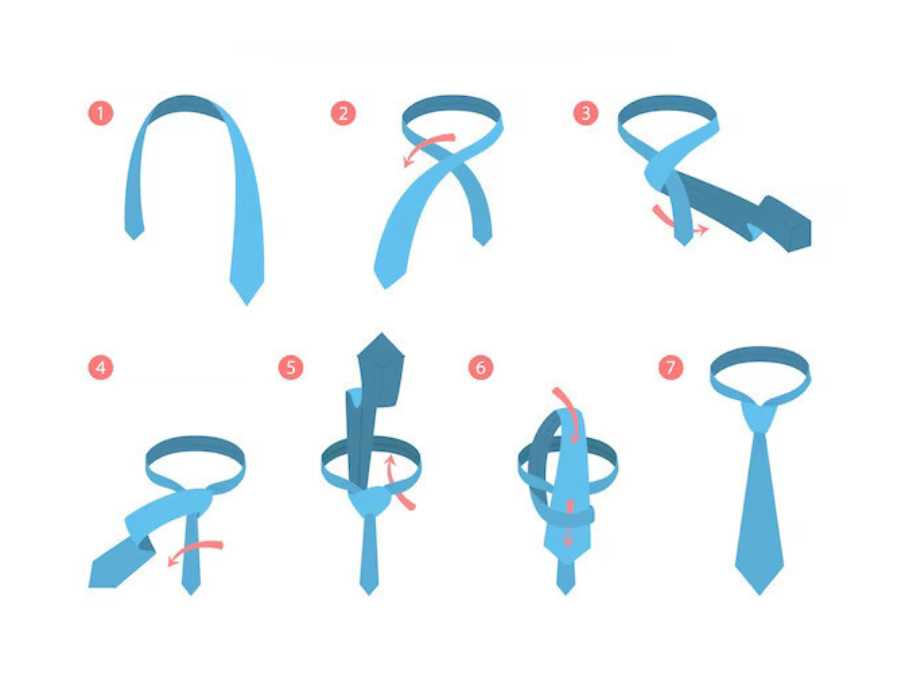
The simple knot is the quintessential classic among necktie knots. It is widely used because it is the easiest and quickest to tie, suiting the majority of neckties.
This type of knot creates a slight asymmetry that makes it suitable even for less rigid and formal occasions. It is perfect for men of medium to tall height and its versatility allows it to adapt to all types of collars.

1) Position the tie under the shirt collar with the wider end on the right and lower than the narrower end. Take the wide end and bring it over the narrow end to the left, crossing them.
2) Wrap the wide end around the narrow end so that it comes back to the left.
3) Then bring the wider end back over the narrow end so that it is on the right.
4) Pass the wider end upwards under the tie and slide it into the loop.
5) Gently pull the wider end to tighten the knot, then bring it up to the last shirt button.
6) Finally, check that the smaller end is not visible.
DOUBLE KNOT or Prince-Albert Knot
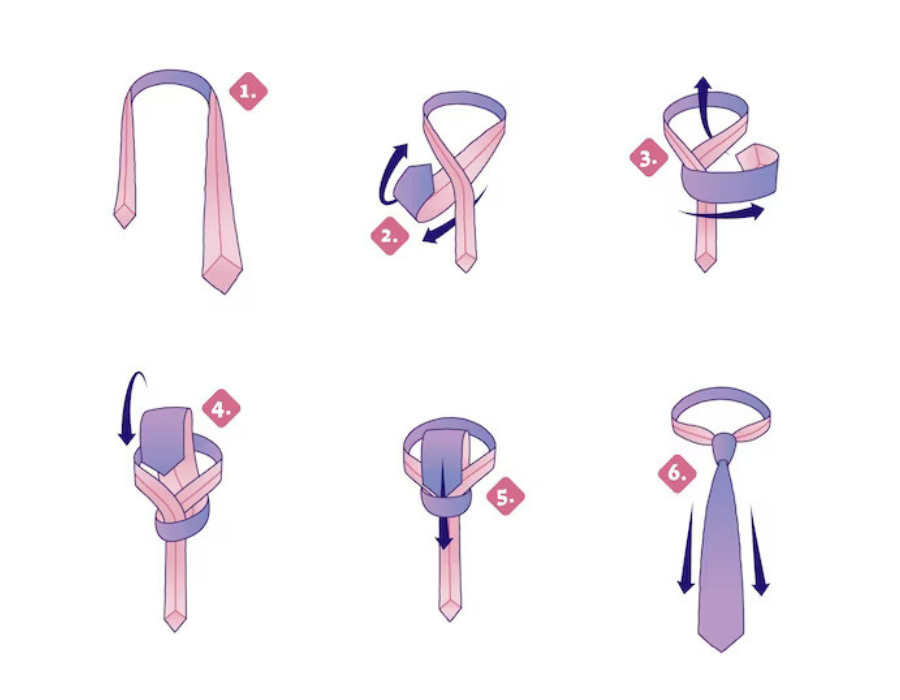
The double knot is very similar to the single knot, with the difference being that it requires a second rotation in the initial phase. Perfect for a special occasion, and created with fine silk ties, this type of knot accentuates the wearer's neck well.
Thicker than the single knot, the double knot is ideal with most shirts.

1) With the tie around the neck and the shirt collar raised, cross the wider end over the narrower end. The two ends of the tie should be positioned asymmetrically.
2) Pass the wider end under and then over the narrow end for the first time.
3) Pass the wider end around the narrow end for the second time.
4) Now, pass the wider end upwards under the tie and let it slide into the loop created.
5) Adjust the knot and then bring it up to the center of the collar.
SMALL KNOT or Kent Knot
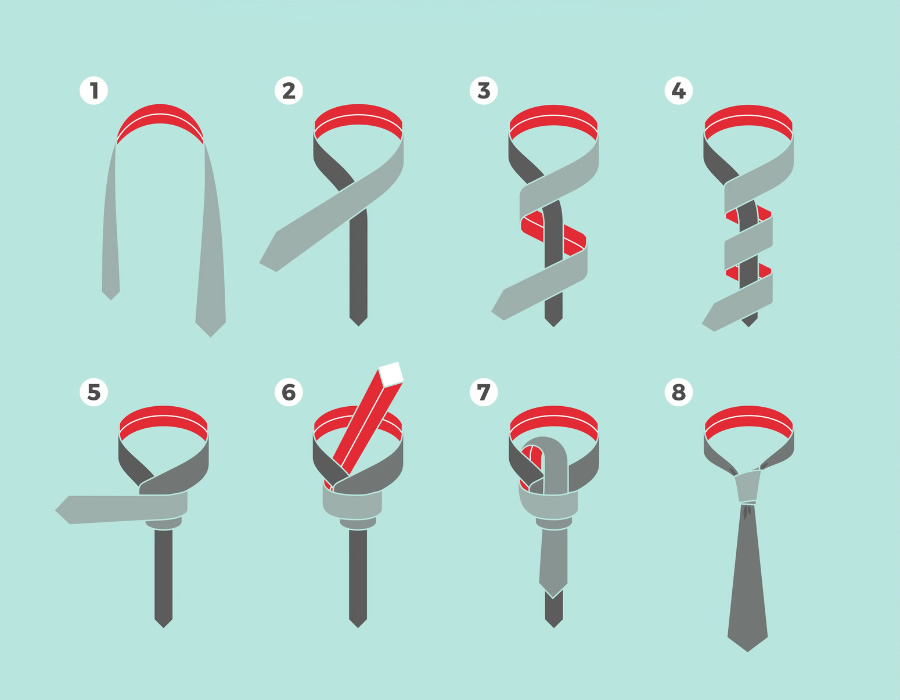
The small knot, as the name suggests, is small and perfect for a fresher, more casual look. It pairs particularly well with thick ties or shirts with narrow collars. It should be avoided with shirts with long or open collars. Relatively easy to tie, it does require a 180° twist.
The final result will be a perfectly symmetrical and compact knot, ideal for various events (weddings, conferences, trade shows).

1) Follow the same process as for the simple knot, ensuring the wider end remains on the left and is longer than the narrow end. You'll need to twist the wider end about 180 degrees so that the seams are visible.
2) Place the narrow end under the wide end.
3) Make a knot inward with the wider end, keeping the loop created stable, then pass the wider end under and up. Smooth out any wrinkles and pass the wider end through the loop.
4) Adjust the knot and bring it up towards the collar.
For successful execution of this knot, the last button of the shirt and the narrow end of the tie should not be visible.
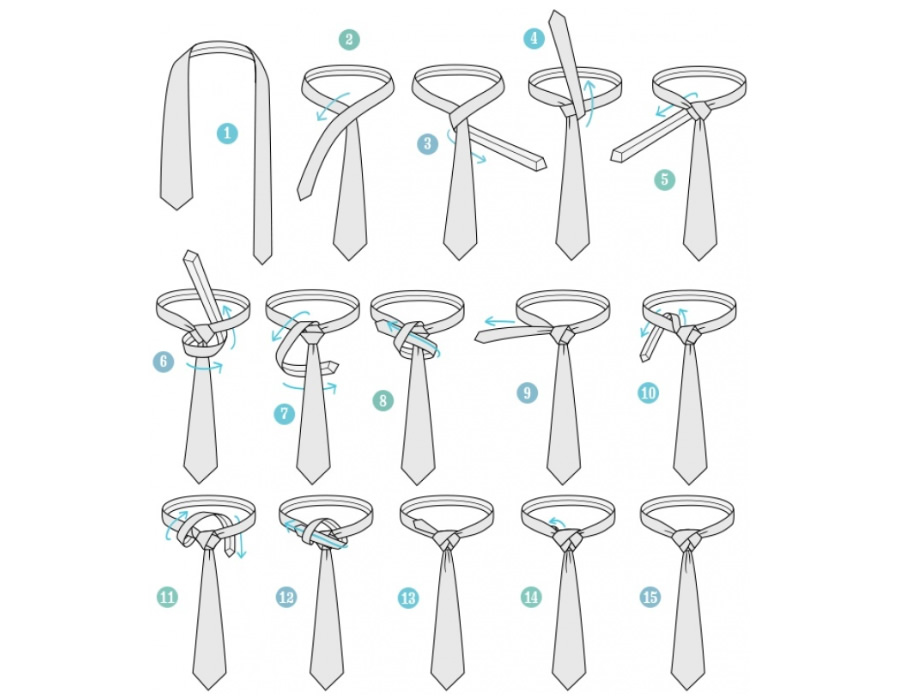
WINDSOR KNOT
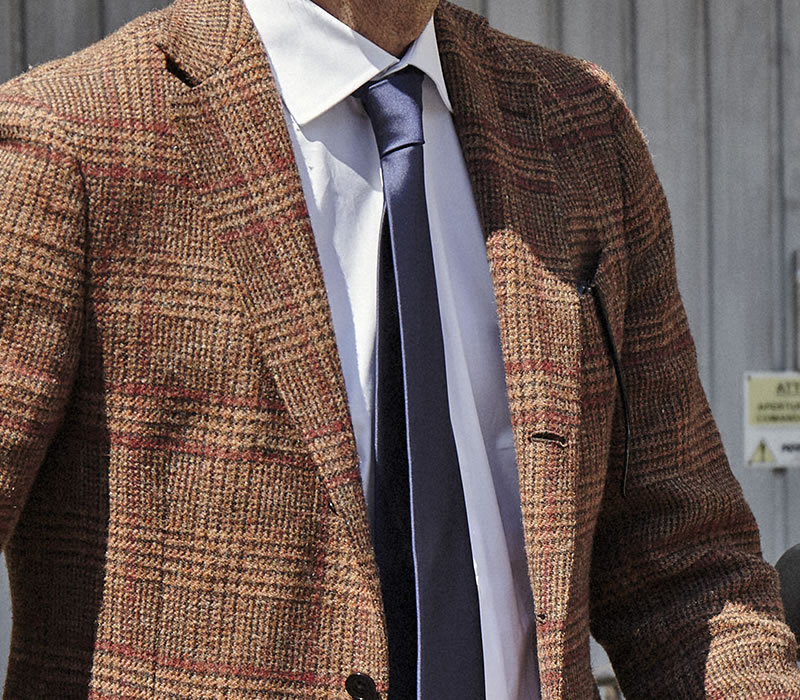
The Windsor knot is the knot for grand occasions, as it gives a very refined and classy appearance to the wearer. Due to its significant volume, it is preferably tied on open collars, such as Italian or Windsor collars.
The most suitable ties are those made of fine fabric and with a slim width, allowing to produce a triangular and voluminous knot to give that touch of regality.
Sometimes complex to tie, it must, to be perfect, fall exactly at the center of the collar and conceal the last button of the shirt.
1) Lift the shirt collar, wear the tie, and button the last button of the shirt. The two ends, wide and narrow, should be positioned asymmetrically. Now, cross the wide end over the narrow end, and holding the cross firm, create a loop by bringing the wide end up under the tie and folding it back.
2) Bring the wide end to the opposite side, under the cross. Now, create a loop by bringing the wide end up over the tie and folding it back.
3) Pass the wide end horizontally under the narrow end.
4) Pass the wide end vertically under the tie. Smooth out any creases that may have formed and slide the wide end into the loop.
5) Holding the narrow end steady, pull up the wide end to tighten the tie.
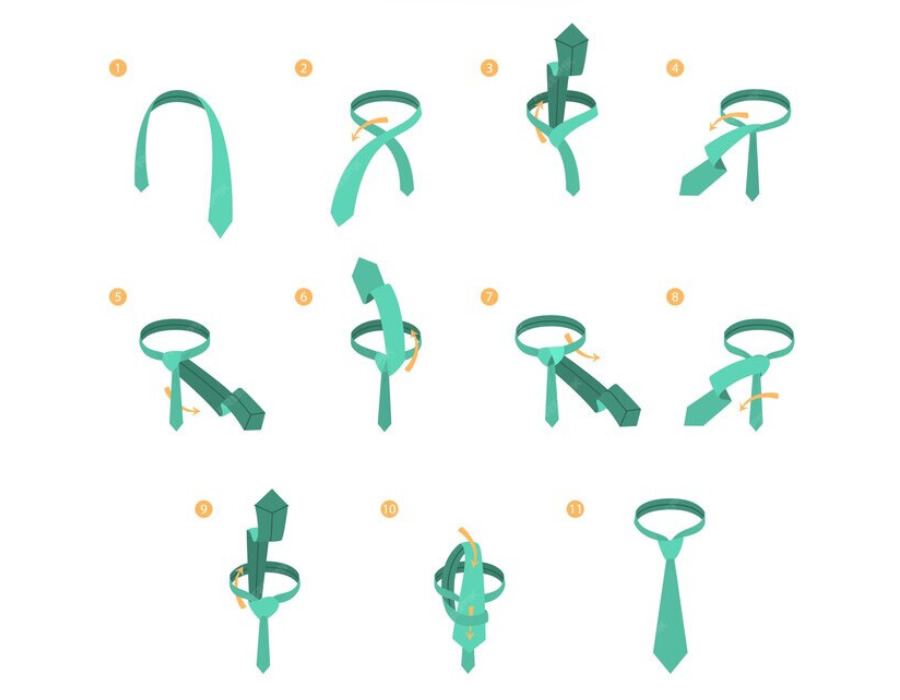
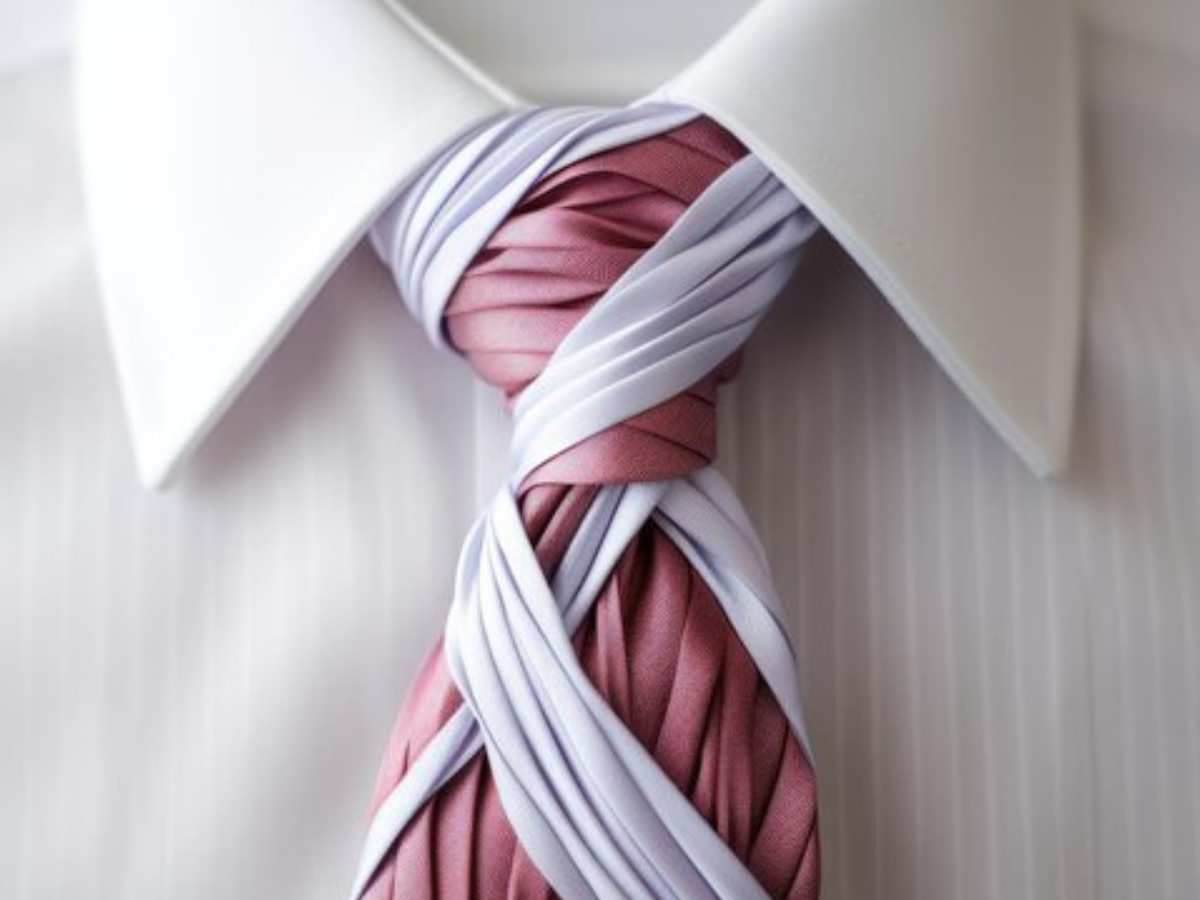
ELDREDGE KNOT
The Eldredge knot is a less common necktie knot, but it stands out for its originality and style.
It's an elegant and refined knot, perfect for formal and ceremonial occasions. With its substantial volume, it creates a striking and impactful look, perfect for those who want to stand out from the crowd.
The Eldredge knot is one of the most complicated knots to tie, but the final result is impeccable and certainly impactful. It's best created with long or extra-long ties, depending on the wearer's physique.
1) Place the tie around the neck.
2) Bring the blade above the leg, then subsequently pass it underneath.
3) Again, bring the blade, pointing upwards, above the collar wrap, crossing it with the leg and passing it behind the knot. At this point, the blade should be facing us, on the right side.
4) Bring the blade first to the left, then upwards around the neck.
5) Cross the blade again with the leg, passing it through the space that will be created between leg and blade, lightly tightening while still keeping the blade facing upwards.
6) Wrap the blade around the neck, on the right.
7) Bring the blade, crossing the knot, over the neck and then cross the left side of the neck anteriorly, as done on the right side.
8) Once the previous step is correctly executed, another space will be created through which you will have to pass the blade, which will now be very short.
9) At this point, you will have completed the knot, pull the blade to secure everything.
Choose from the ties in our Collection
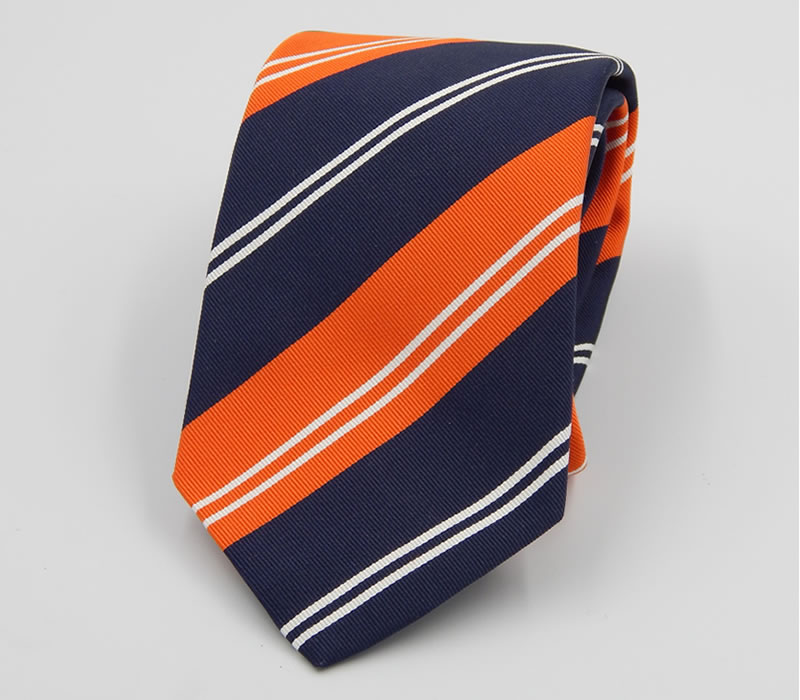
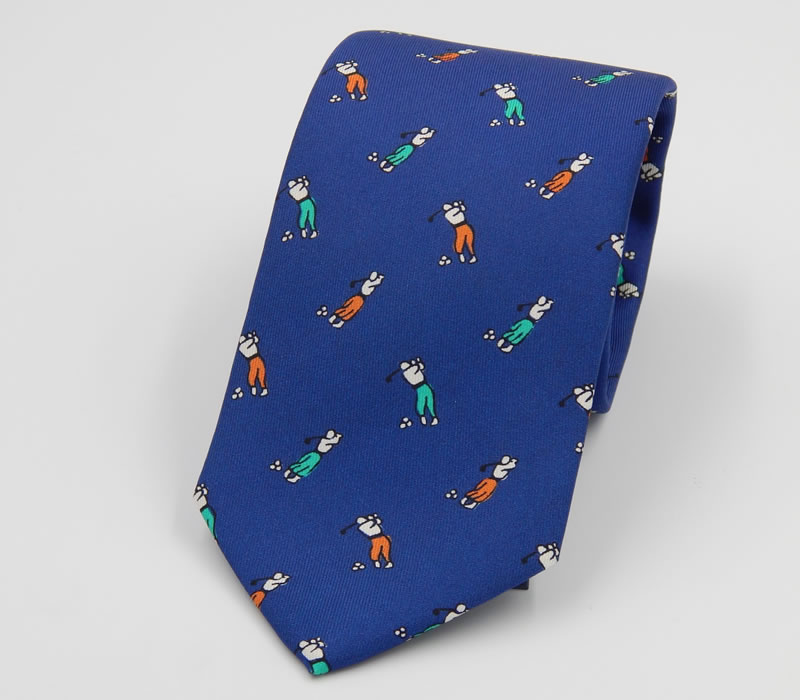
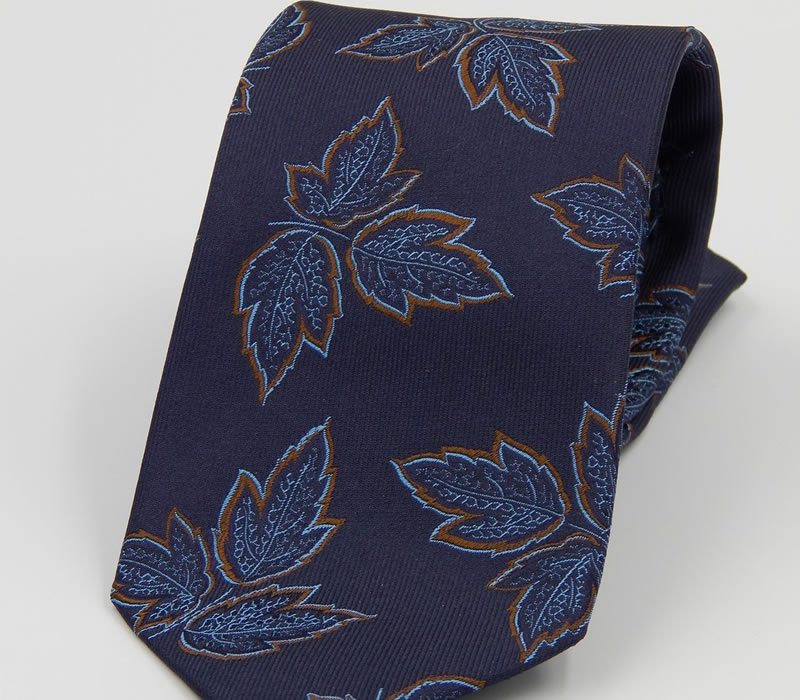
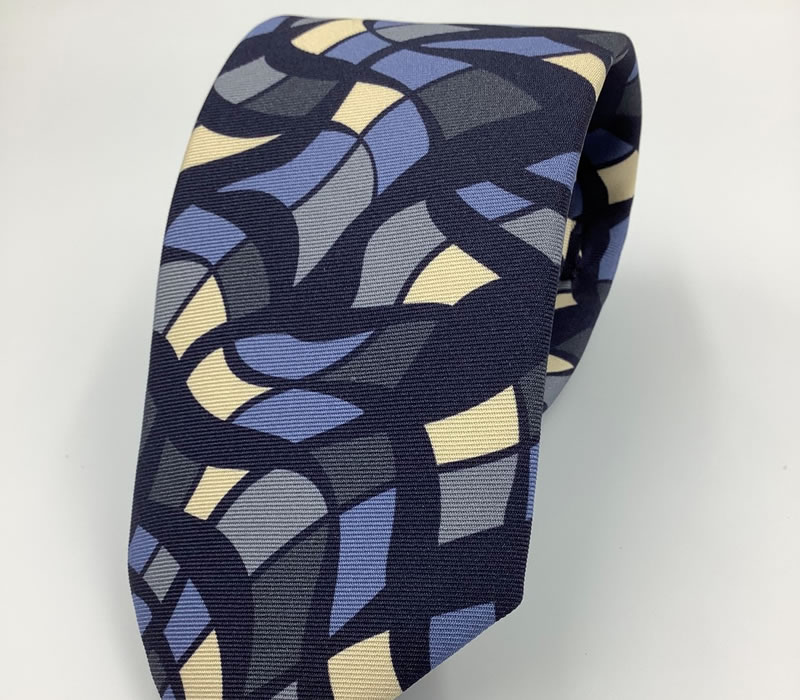
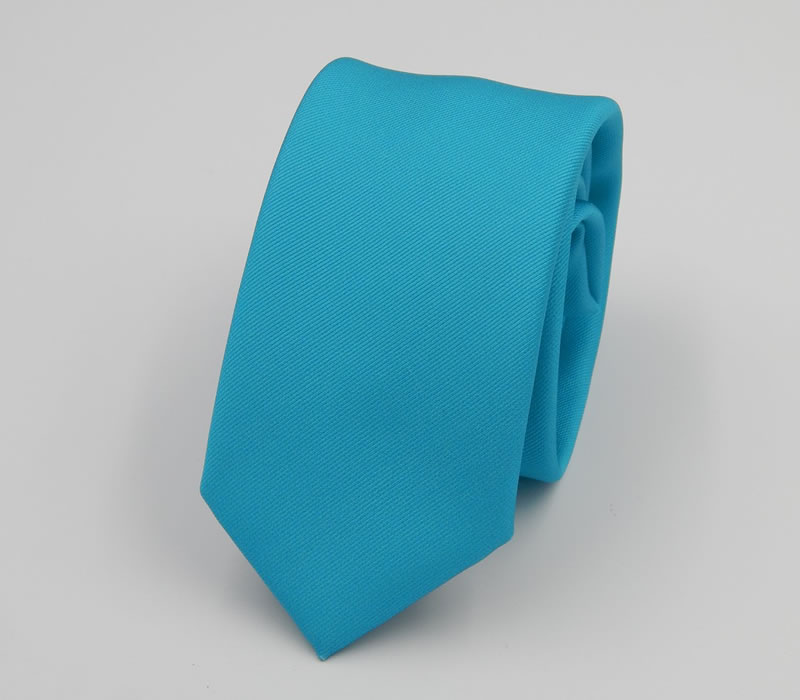
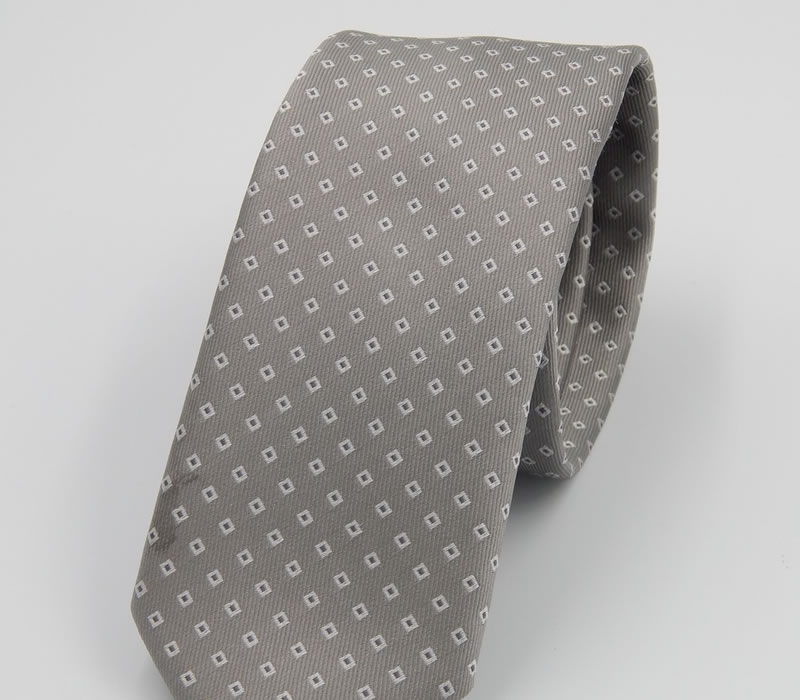
For lovers of craftsmanship and fine fabrics, ties are an essential accessory to have in the wardrobe.
In solid colors, stripes, patterns, on our e-commerce platform, you will find a wide range of tie models branded
Drake's London,
Holliday & Brows e
Made in Como. Perfect for reflecting your personality and adding that extra touch to your outfit, our ties are 100% silk and suitable for every type of collar.
At Camiceria di Como, we follow the tastes of our customers and carefully craft every detail, ensuring the best types of ties.